If you’ve ever sat through a long university lecture trying to scribble down every important detail, you know how overwhelming it can be. By the time you write down a concept, the lecturer has already moved on to the next slide. Luckily, in 2025, students no longer have to rely solely on frantic note‑taking. Transcribing lectures to text automatically has become one of the easiest and smartest ways to keep up with class content while still being present in the moment. This guide will walk you through exactly how to do it step by step, with practical tips and tools that will make your study life far easier.
Why Transcribing Lectures to Text Matters
University life moves fast. Professors often pack multiple chapters into a single session, and missing just one explanation can leave you struggling later. Automatic transcription captures not just what’s written on slides but also the context, jokes, and examples professors share in real time. When you have a written transcript, you can revisit the lecture whenever you want, highlight key terms, and even turn those notes into summaries, study guides, and flashcards.
Step 1: Choose the Right Device
Before you start, make sure you have a device that can handle recording. Your laptop, tablet, or even your smartphone can work, but you’ll want something with a good microphone or the ability to connect an external one. A decent microphone will cut down background noise and make the transcript more accurate.
Step 2: Pick a Reliable Transcription Tool
The magic happens in the transcription tool you use. In 2025, there are plenty of apps designed for students, but you need one that’s easy, accurate, and fast. Look for:
• Real‑time transcription so you don’t wait hours for results
• Editing tools to clean up mistakes quickly
• Options to export transcripts as text or PDF
• Extra features like summarization, flashcards, or quizzes
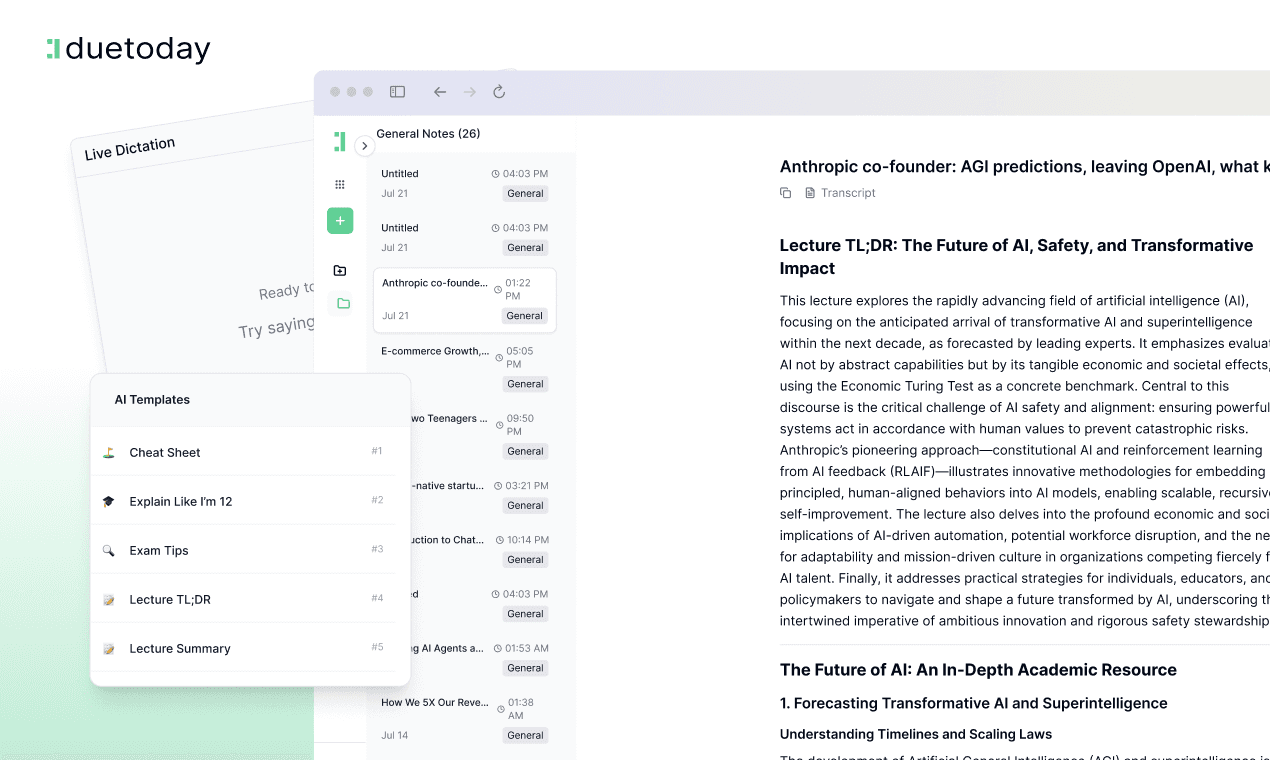
One standout option many students are trying is DuetodayAI. It’s an AI notepad built for students that can record lectures, transcribe them instantly, and even generate study guides. On top of that, it can turn your lecture or YouTube video into AI‑generated PowerPoint slides, create interactive quizzes, and build flashcards automatically. You can even chat with your lecture notes using built‑in GPT to ask questions. The best part? You can try it out for free and see how much time it saves you.
Step 3: Test Before the Real Lecture
Don’t wait until a high‑stakes lecture to figure things out. Test your app in a quiet environment. Play a YouTube lecture, record it, and check the transcript. Adjust your microphone placement and make sure the audio quality is clear. This way, you can walk into your lecture ready to go.
Step 4: Start Recording During Class
Arrive a little early, pick a good seat (not too far from the lecturer), and set up your device. Hit record when the lecture starts. Try not to fiddle with the device too much; let it capture everything naturally. A good transcription app will separate speakers, identify timestamps, and even bold keywords for you automatically.
Step 5: Review and Edit After Class
Once the lecture ends, open up your transcript. Read through it while the content is still fresh in your mind. Most tools let you edit directly, so fix any misspelled terms or add clarifications. This edited version becomes your master study guide.
Step 6: Turn Your Transcript Into Study Materials
The beauty of having your lecture in text form is what you can do next. You can:
• Highlight important sections
• Summarize each topic into bullet paragraphs
• Create flashcards and quizzes
• Search instantly for key concepts before exams
Using a tool like Duetoday AI makes this step effortless, as it generates quizzes and study guides for you instantly. Instead of spending hours rewriting notes, you can dive straight into understanding the material.
Step 7: Sync and Backup Everything
Don’t let your hard work get lost. Back up your transcripts to cloud storage or your university’s learning platform. This makes them accessible on all devices and safe even if your laptop has issues. Some transcription apps automatically sync, so you don’t have to think about it.
Extra Tips for Accurate Transcriptions
-
Sit closer to the lecturer when possible.
-
Turn off background apps or notifications on your device to avoid interruptions.
-
If your lecturer uses slides, download them beforehand and pair them with your transcript for context.
-
Review soon after class to catch errors while the material is still fresh in your head.
Frequently Asked Questions
Final Thoughts
Automatic lecture transcription is more than a convenience; it’s a study hack that can transform how you learn. Instead of stressing over handwritten notes, you can focus on listening and understanding. Whether you use a built‑in phone app or a dedicated tool like Duetoday AI, you’ll thank yourself later when exam season rolls around. Give it a try, and you might never go back to traditional note‑taking again.
faq
Can I use my phone to transcribe lectures?
Yes, most modern transcription apps work perfectly on smartphones as long as your mic is good and the audio is clear.
Will the transcript be 100% accurate?
No transcription is perfect, but good tools get very close. Editing after class helps clean up errors.
Is it allowed to record lectures in university?
Always check your university’s policy or ask your lecturer. Most allow recording for personal study use, but it’s better to confirm.
Can I share transcripts with classmates?
Yes, but make sure it doesn’t violate any academic integrity policies. Many students create shared study groups for this.